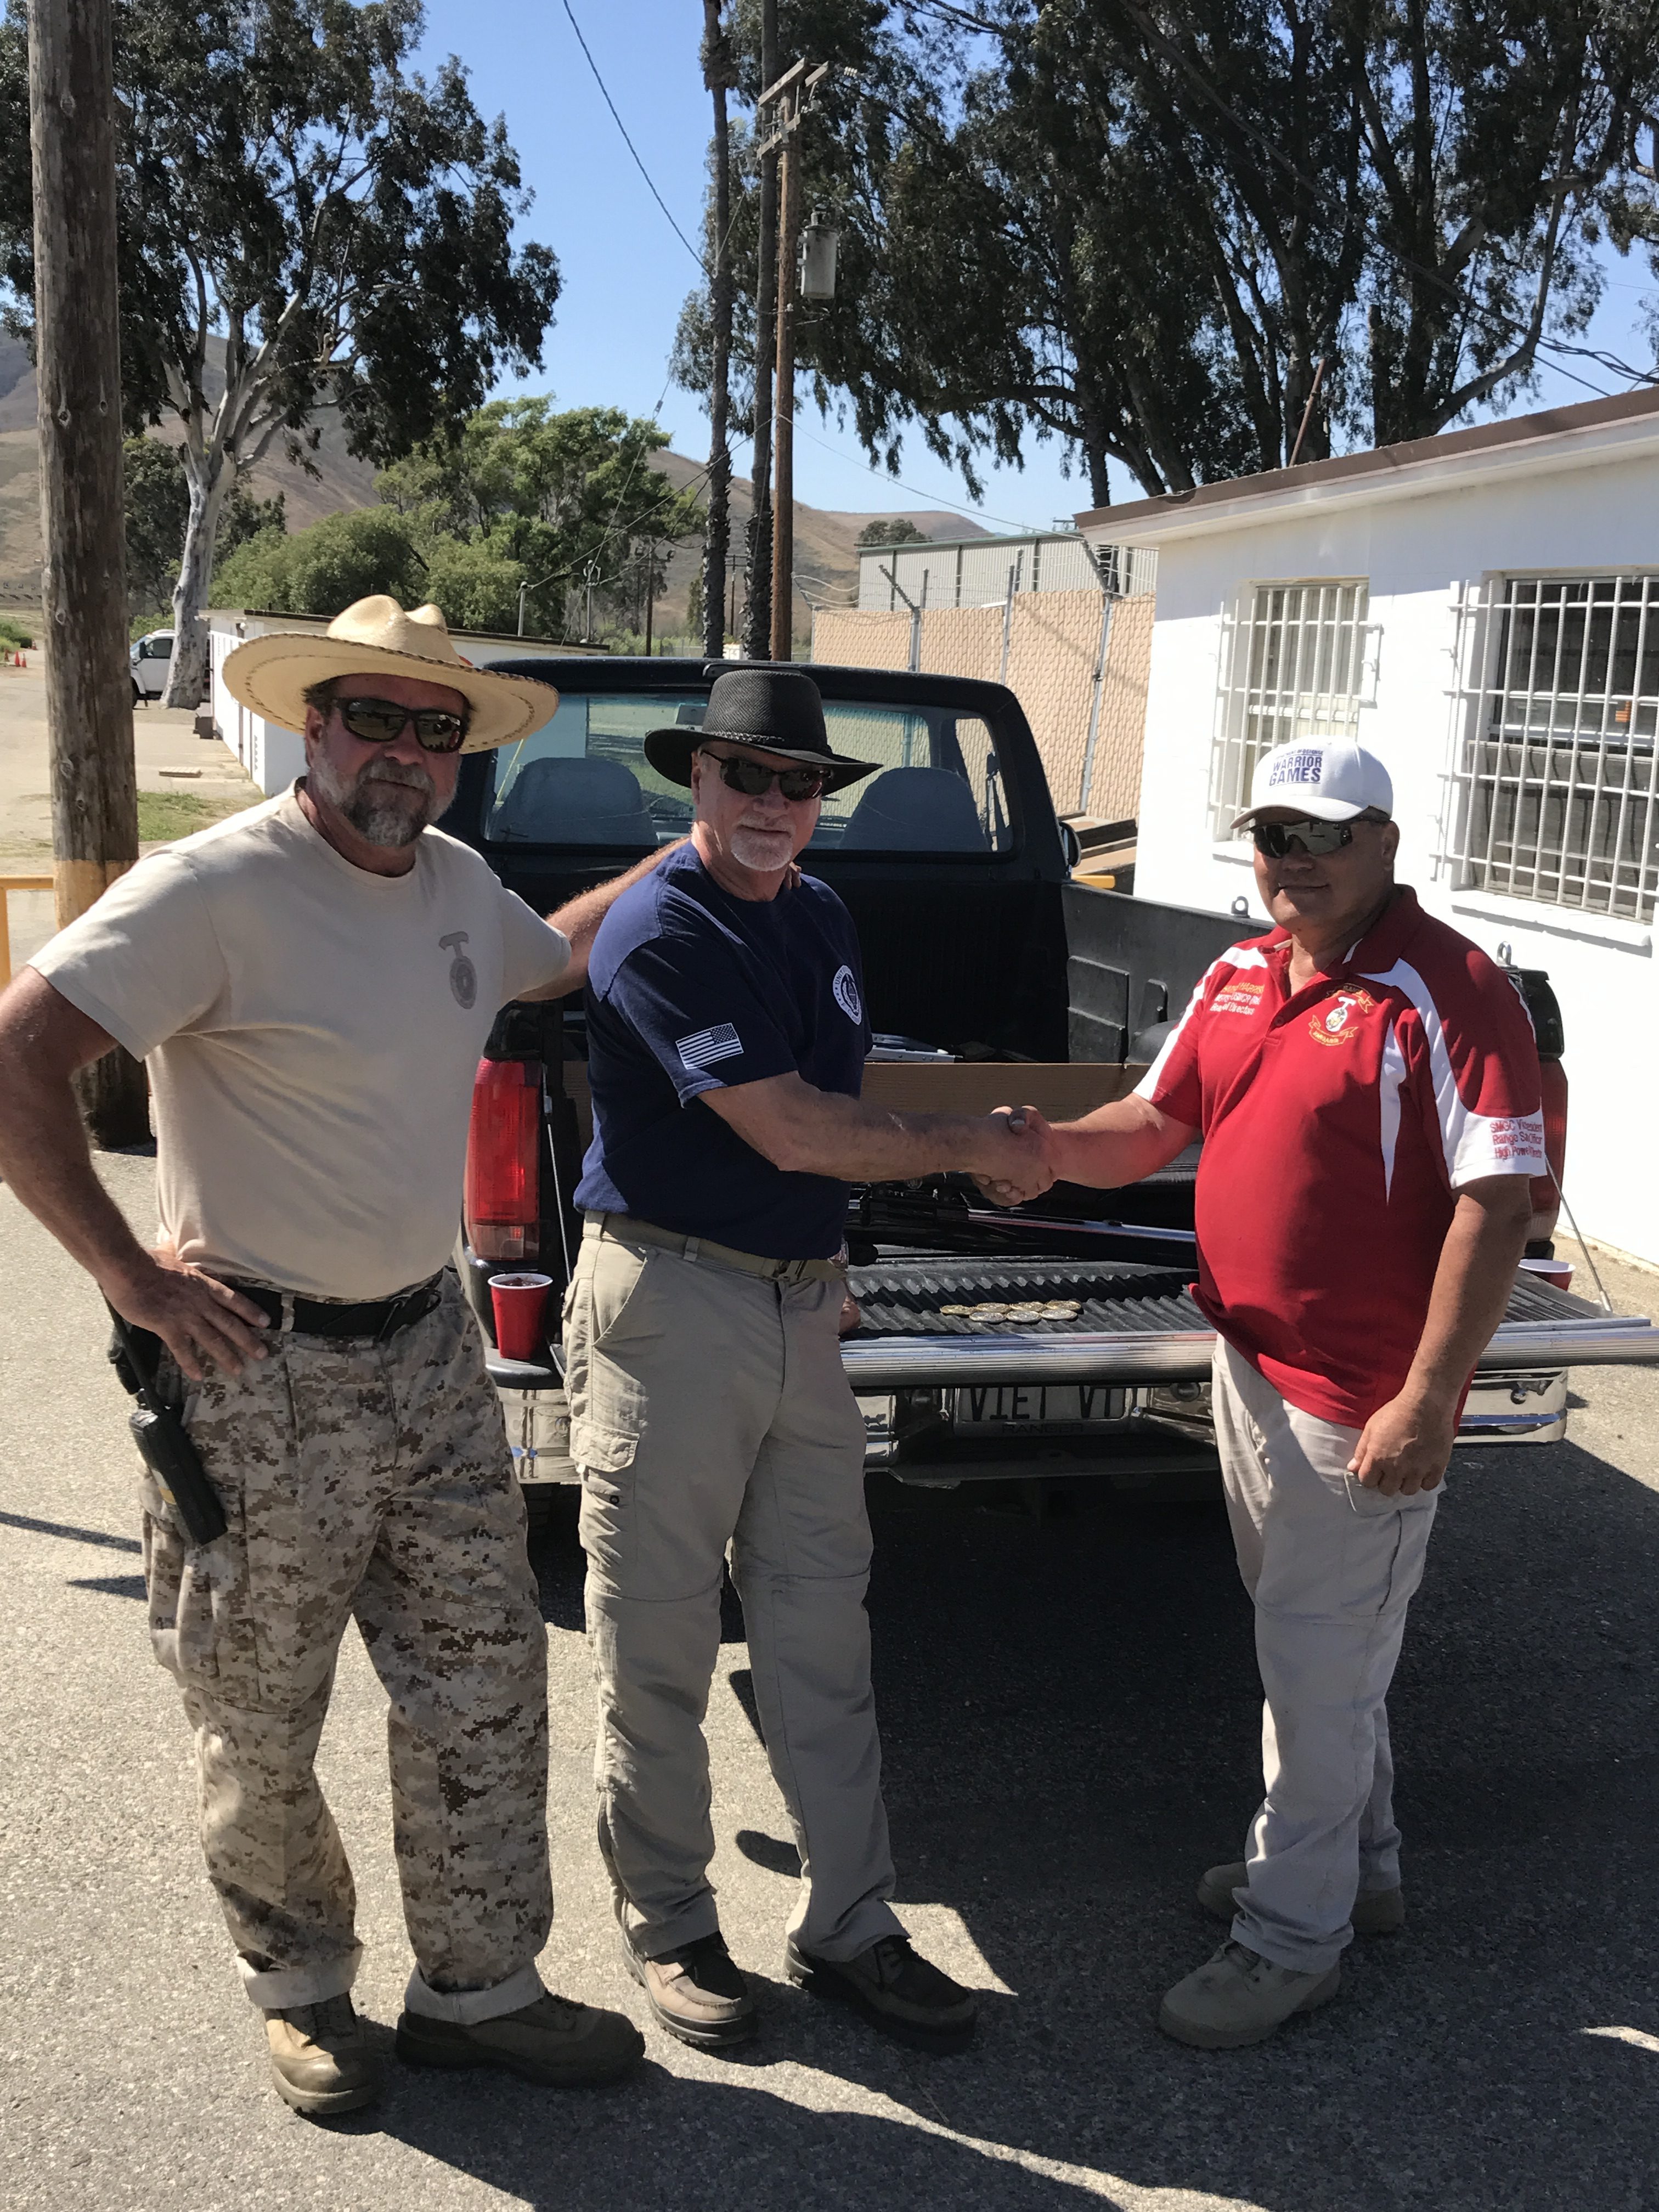
This clinic wouldn’t have gotten off the ground without the club directors working side by side with the base staff to work out the details of intricacies of shooting on steel on the unknown distance course. The club’s gratitude is heartily extended to those on base who made it all come together in the last hours of the week leading up to the event!
On deck for support of the day were John Hermsen our club president as well as Mike Jones our Long Range director. These two lead the event, took on the roles of OIC and RSO, and generally made sure everyone was having a great time! Van Texas and Rich Elliot provided medical staffing and Simon Wagner stepped in as RSO to give Mike and John some time behind their rifles. Thanks to you all for your help! The club would also like to thank the Range Inspector for his professionalism during our initial inspection, interim check and final range clearance. With such oversight we continue to refine our use of the facilities and ensure future success in engaging them for more of these matches.
It’s not just the club officers who go the extra mile around here either, as a number of members both civilian and Marine came to assist SSgt Velayo and Mike Jones get the range set up for the day. Mike put out the call for 6 members to arrive at 05:30am to help set up. He got that and more, even in the thick fog of the morning. With their help targetry and barricades were all carefully placed to SSgt Velyao’s plan. By the time the rest of us rolled in at 07:00 we had a full course of fire set up and a briefing station bristling with examples of the gear we might deploy at any given PRS match.
In all we had 40 attendees of which half were Marines. We also had a group of Border Patrol agents to bolster our numbers. We had a diverse group with broad experience levels making the day invaluable to anyone who was into long distance shooting. To the left and right of any shooter was another who would lend a hand or a word of advice. Even more helpful was the variety of gear hauled on site by all. It was a great way to get a look at what successful PRS shooters might use on a stage up close. As usual shooters are helpful and friendly so if you wanted to try out someone’s rifle, binoculars, or rifle rest all you had to do was ask.
So here we are getting started for the day as the fog begins to lift

Various barricades with multiple ‘addresses’ – shooting positions – are on the line for demonstration. Any flat surface vertical or horizontal is fair game for the stage designer to call upon for engagement of the targets!
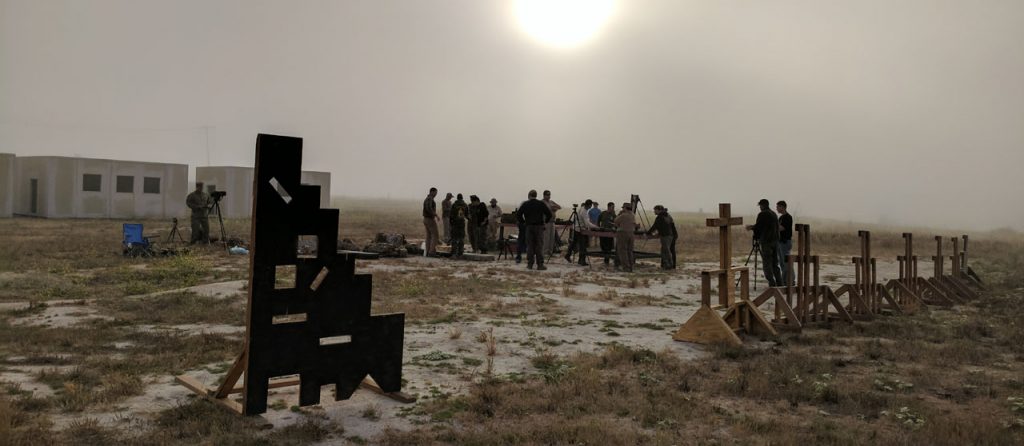
Mike Jones begins the day with briefing us all on the timeline and introducing the staff on hand to assist in the clinic.
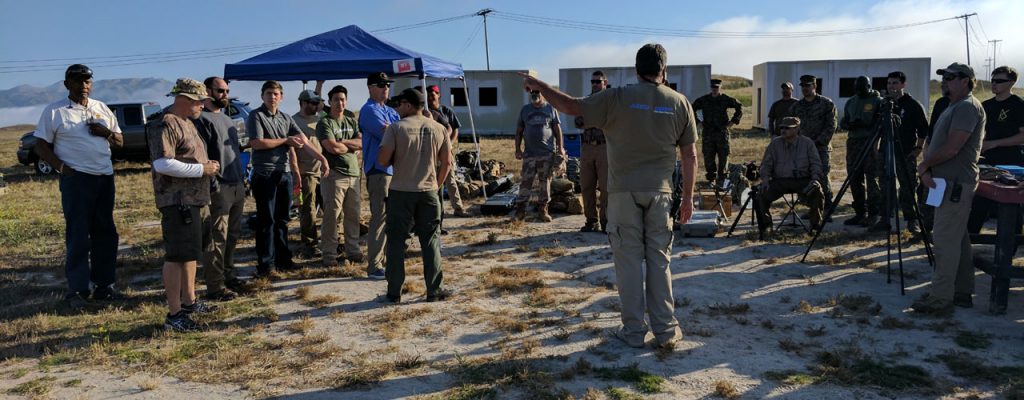
After our safety brief SSgt Velayo begins his thorough lecture. Here we were learning about the use of scopes on the rifles of choice.
TIP: Too much magnification will make transitions between targets slow and difficult. Typical scopes used in PRS are variable magnification that run from 6 to 24 power maximum. Most of the time you’ll be using your 8 to 12 power magnification.
TIP: Time used making adjustments to your scope and taking you out of position can be the difference between making par time for a string or not. Reticules in use for PRS are often ‘Christmas Tree’ format with many firing solutions plotted on the First Focal Plane (FFP) such that those marking scale with magnification
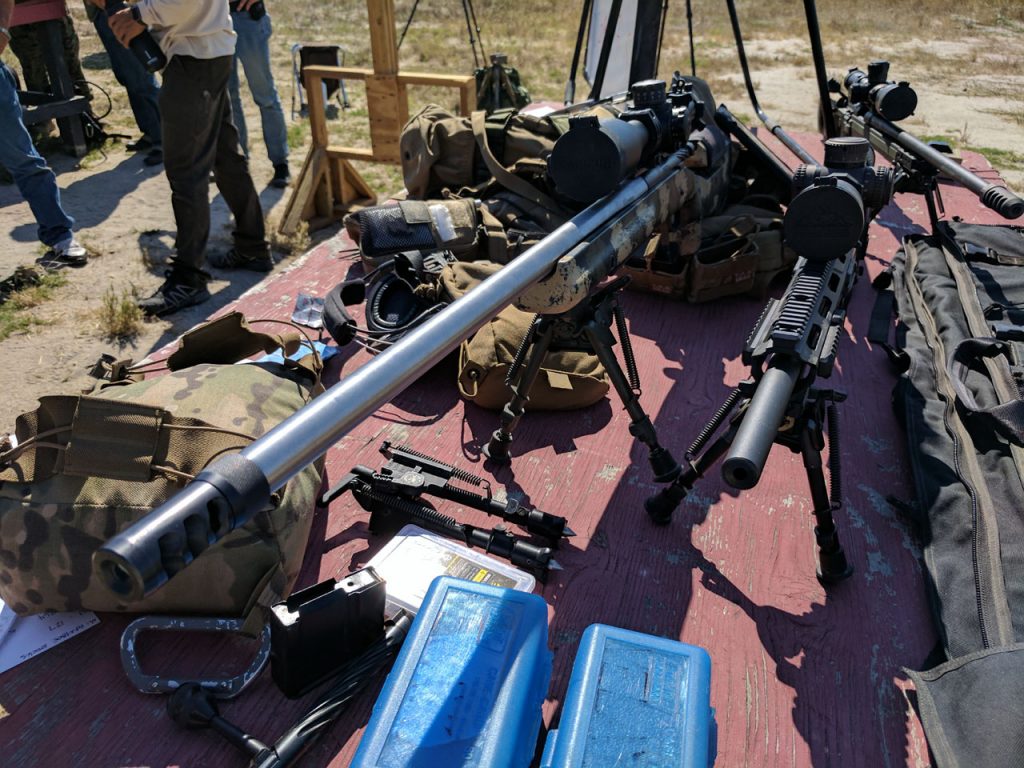
Here we see a lot of SSgt Velayo’s gear on the table that he brings to a match along with two other competitors rifles. Bipods and muzzle brakes are very important equipment on these guns. The brake keeps you on target so you can watch for signs of impact through your scope. The bipod is used to steady the rifle in a number of ways and works as a hand stop as well.
TIP: Use a ‘self timing’ muzzle brake that you can easily remove and reinstall yourself. These need aggressive maintenance and you don’t want to damage the crown of your barrel trying to get the slug mud off those baffles!
TIP: Bipods used by most are either the Harris brand or the Atlas brand. Both have a good reputation for reliability. The Harris unit is faster to deploy but less versatile over the Atlas with it’s leg angle locking feature. Be sure to get a model that allows you to zero out cant on your rifle.
TIP: Cant (rifle tilted with respect to the vertical) will throw you off target and a good bubble level is required to see it creeping into your precision. Make sure you put one of these in your field of view while you are aiming your rifle so you can keep it level.
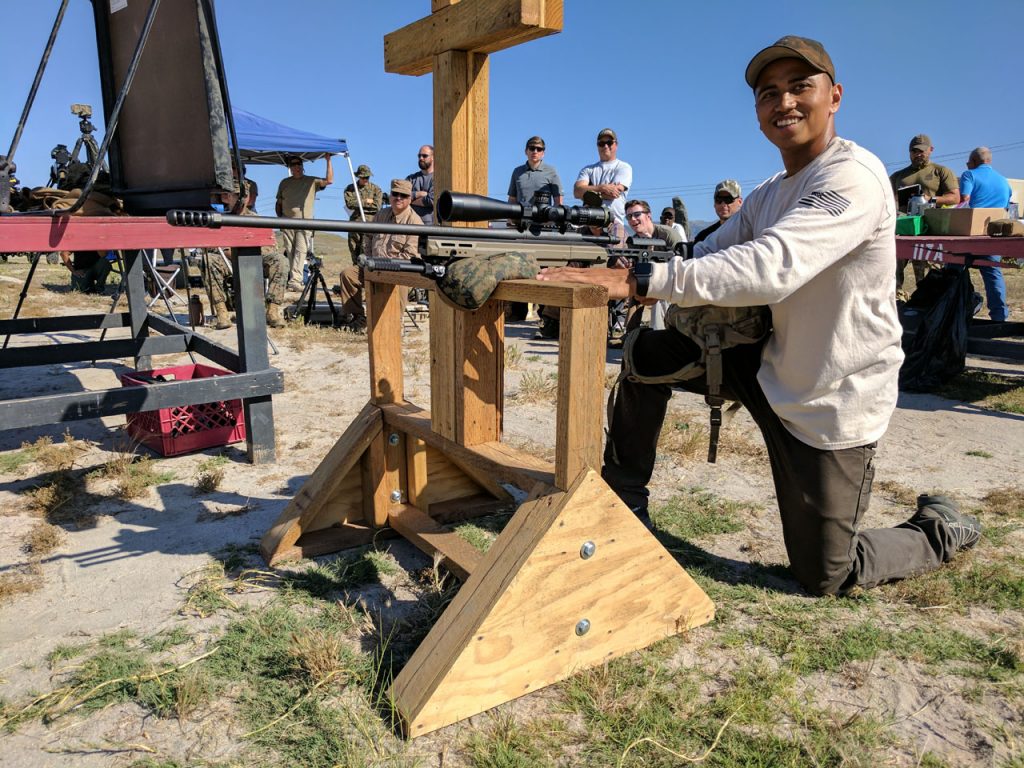
Here SSgt Velayo demonstrates how to use a bag and support your rifle correctly on an address that won’t allow a sitting or standing firing position. He prefers a double kneeling position, but here he is demonstrating an alternate method to find stability for the shot he will take.
TIP: Note the bag under the forearm of the rifle. It is important to increase surface area between the rifle and the address. This bag provides a soft layer between the two hard objects to absorb vibration and recoil impulse, preventing the rifle from bouncing off line of sight to the target. It’s very important to be able to see shots land in this game so you can make a successful follow up shot.
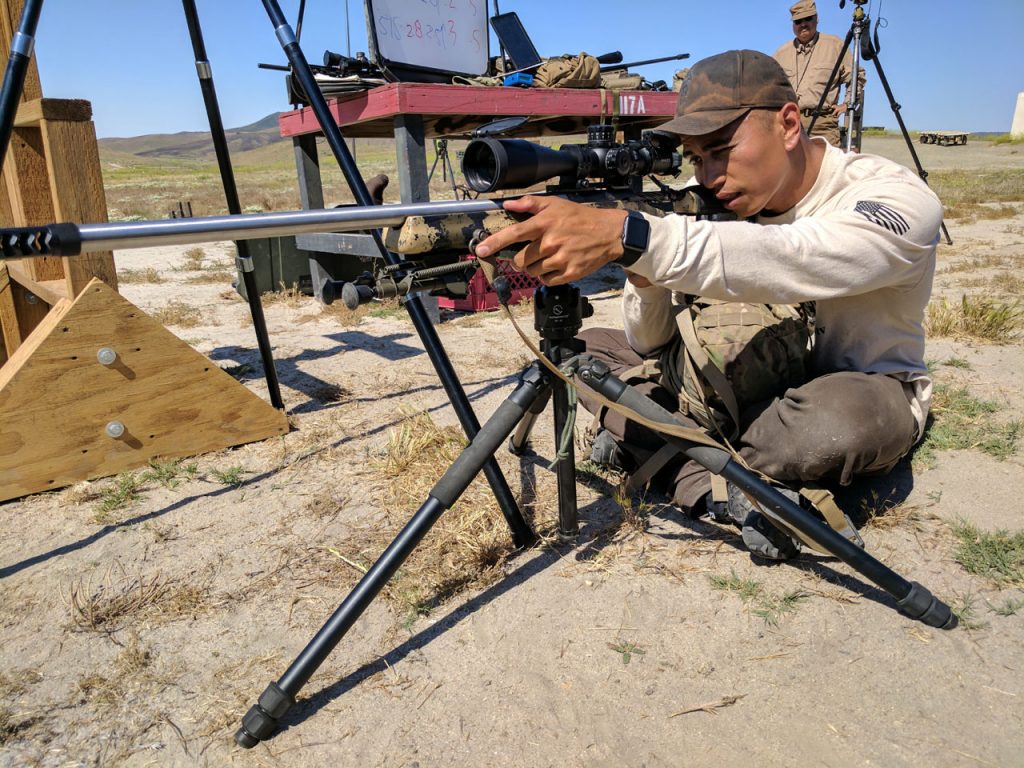
Here SSgt Velayo demonstrates the use of a tripod for rear rifle support. Not all stages permit the tripod to be used, but some may require it. In the chance that you have one deployed but not in use for main support, don’t be afraid to re-purpose it for secondary support!
TIP: We learned that there are two major means to ‘load’ the rifle against a barricade to improve stability. You can push forward into the barricade or pull backwards against it. They both have rules of engagement, but as the recoil is always to the rear, SSgt Velayo suggests that pulling the rifle back towards your body against the unyielding barricade will deliver a stable platform that works with the recoil impulse instead of against it.
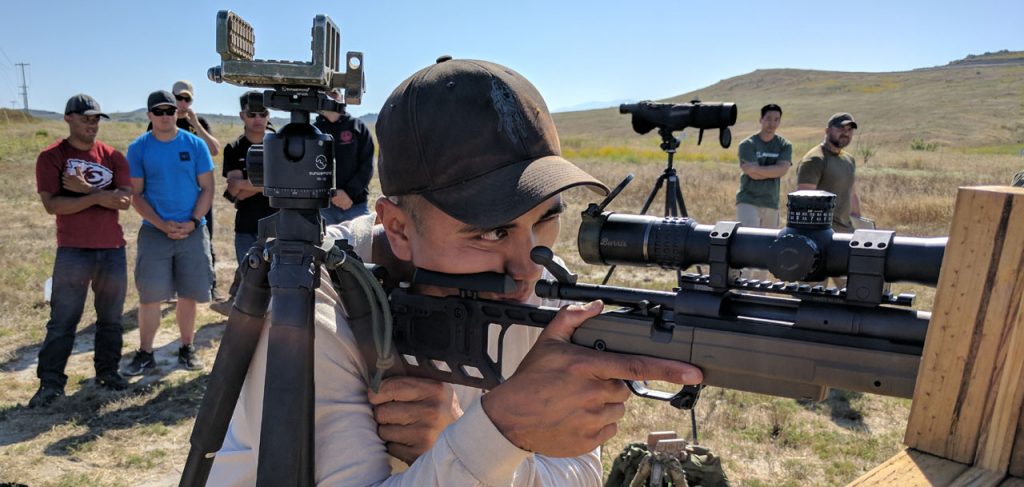
Here SSgt Velayo shows us how to set up on a tripod. He prefers to run one leg forward and two to the rear to prevent the rifle from pivoting the tripod in recoil. Not shown is how he grabs the tripod with his thumb pointing down to assist in locking in place using his inverted elbow joint as a means to stiffen the setup.
TIP: When using a sling with a tripod mounted gun, get completely set up like you were without the sling first and only tighten the sling as the last maneuver prior to taking the shot. This prevents you from loading the tripod incorrectly with the sling prior to locking out your position.
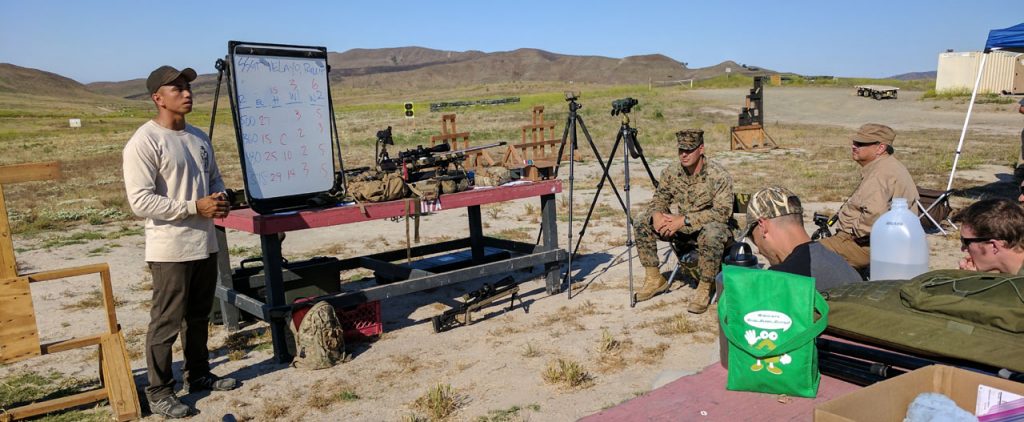
Here SSgt Velayo goes through a mock briefing for a stage. This is a critical moment in a PRS match. If you don’t understand the course of fire or see the targetry you need to ask for help. Keeping quiet will only cost you time when you’re on the firing point and you’re searching high and low for something you never saw.
TIP: Leave your spotting scope at home! Bring your binoculars – 8 to 10x power maximum – so you can scout the terrain for the targets and make associations to their location and prominent land marks you can easily find in the heat of the moment.
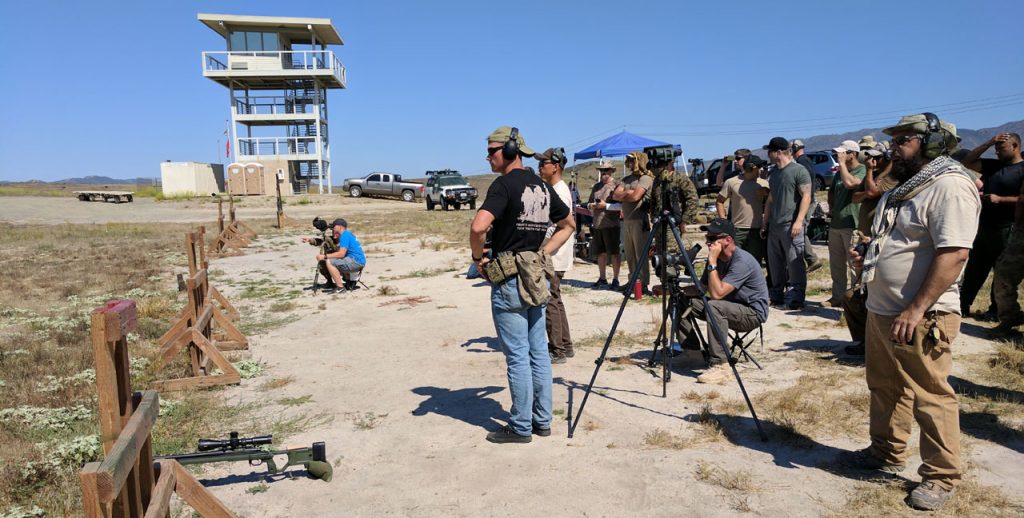
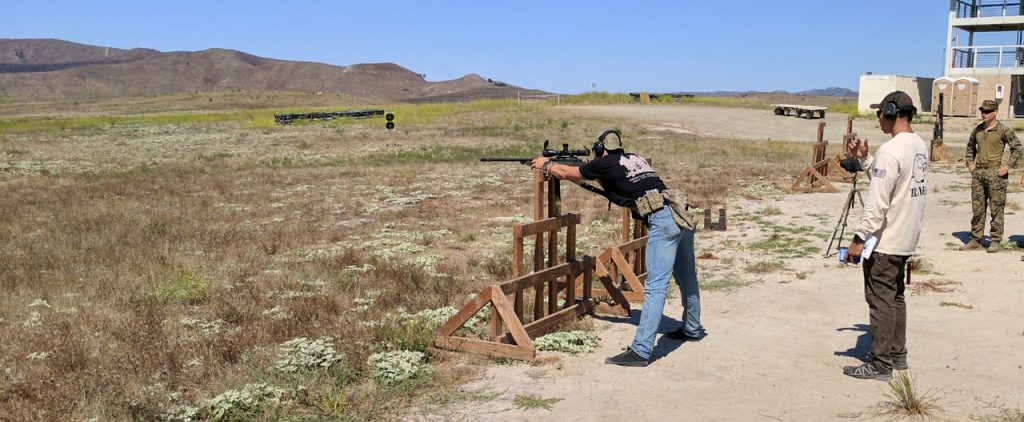
Here a live stage is shot to demonstrate the speed and transitional dynamics of moving from address to address to engage the targets in the specified order.
TIP: Load both your primary magazine and a spare with just enough ammunition to complete the stage. If you have a jamb or mag related problem you don’t want to have to run back to your bench to find a spare. Equally, shooting too much will get you disqualified so don’t over-load. In PRS shot count is generally one or two per target and never more than 12 shots in a string.
TIP: It may be handy to have a few extra round on the side of your gun as they might be faster to put into use than a magazine change for those last two shots in a stage that empties your primary magazine.
Here you can see some steel targets set up for a stage. The color and markings define the target stations.
TIP: At the beginning of the day, sketch out the stage and note the color/shapes/range of the objects you will engage. As the day move on those distinguishing marks are going to be obscured by impact marks. You can use this information on a wrist mounted data card for ranging those targets too!
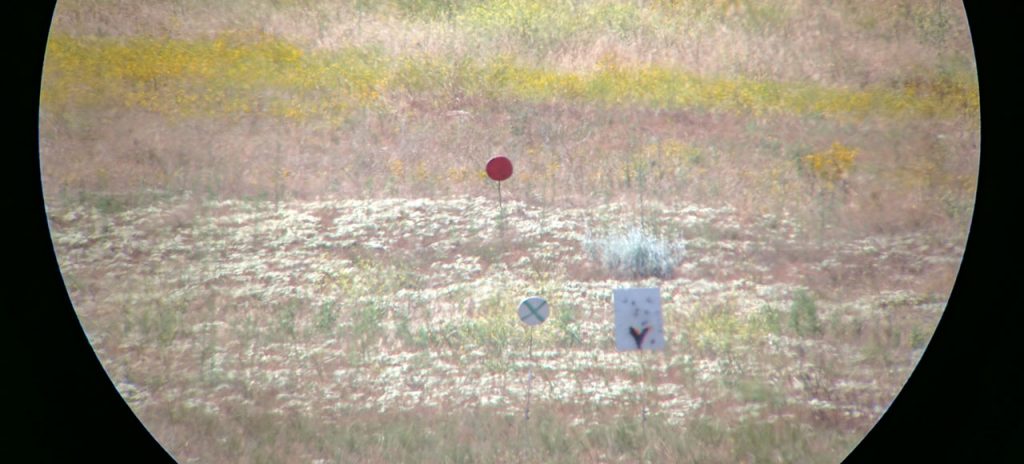
With the briefing and demonstration complete, we all got to give what we learned a try. There would be no clock or official timed events today, jut the opportunities to try out any combination of address and position we wanted to.
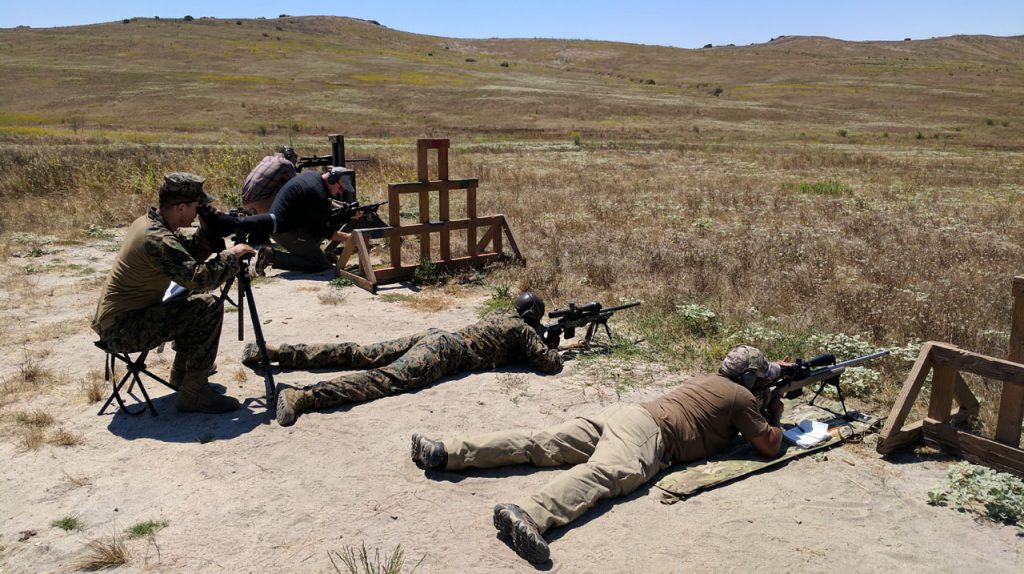
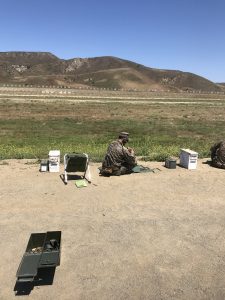
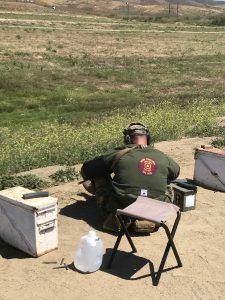
As you might expect, we all got our feet wet in the prone position. This helped build confidence for trying more difficult positions later.
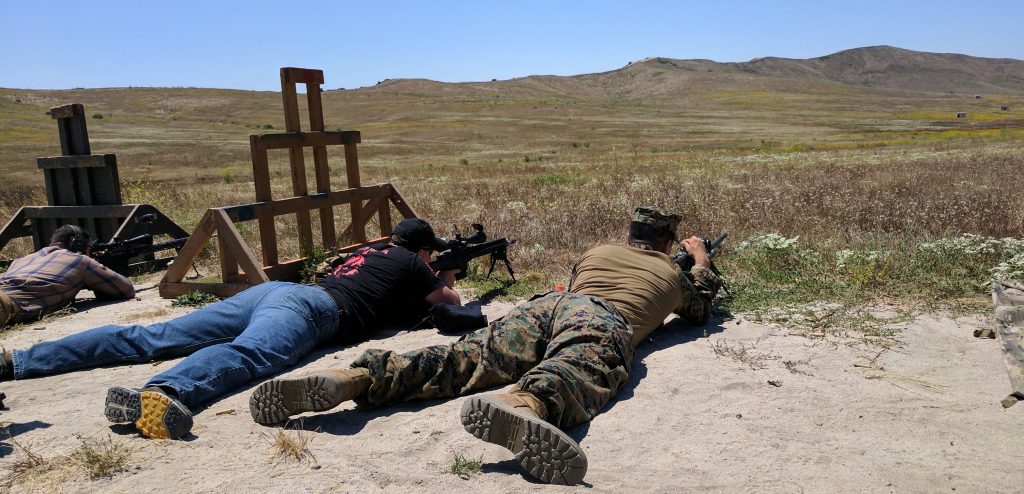
Looking carefully below you can spot the shoot houses that defined the local area in which we would find steel targets to engage.
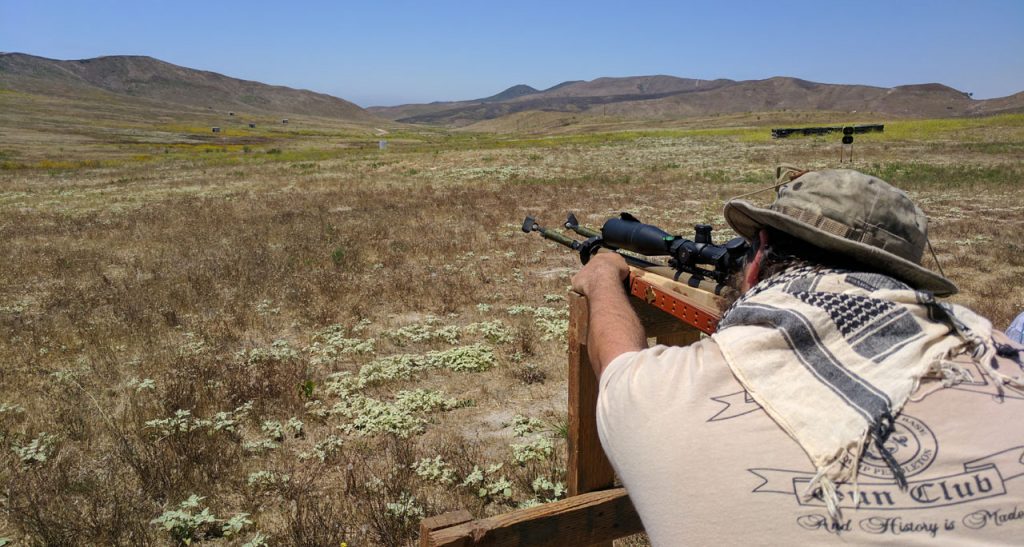
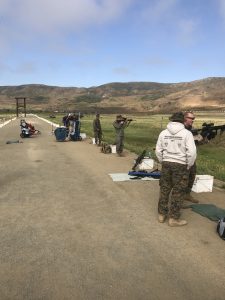
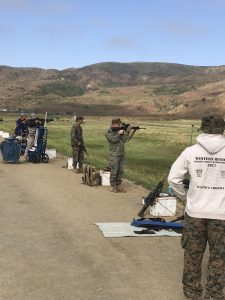
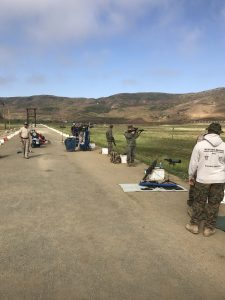
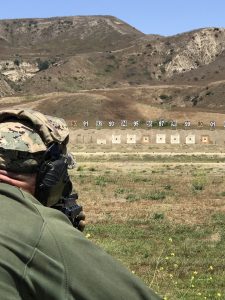
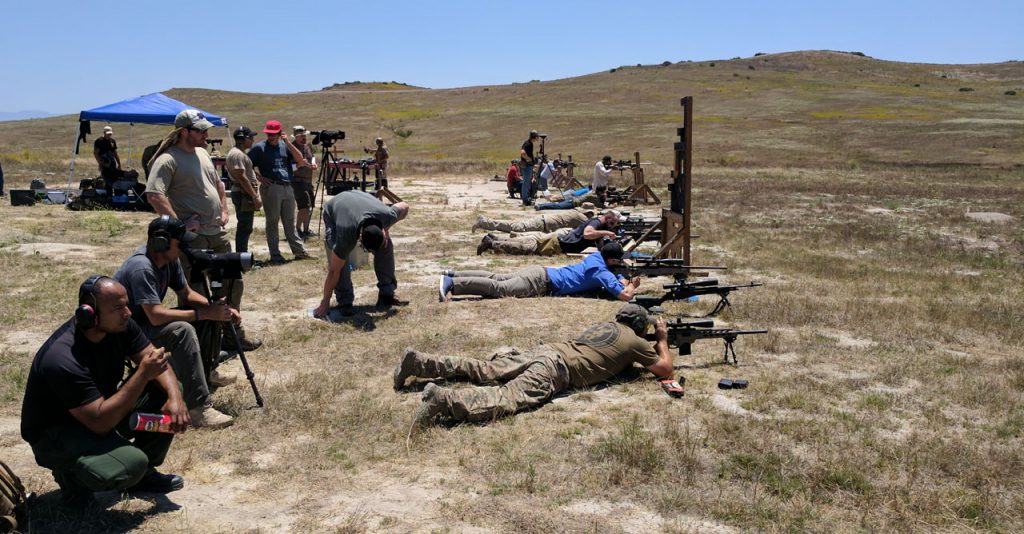
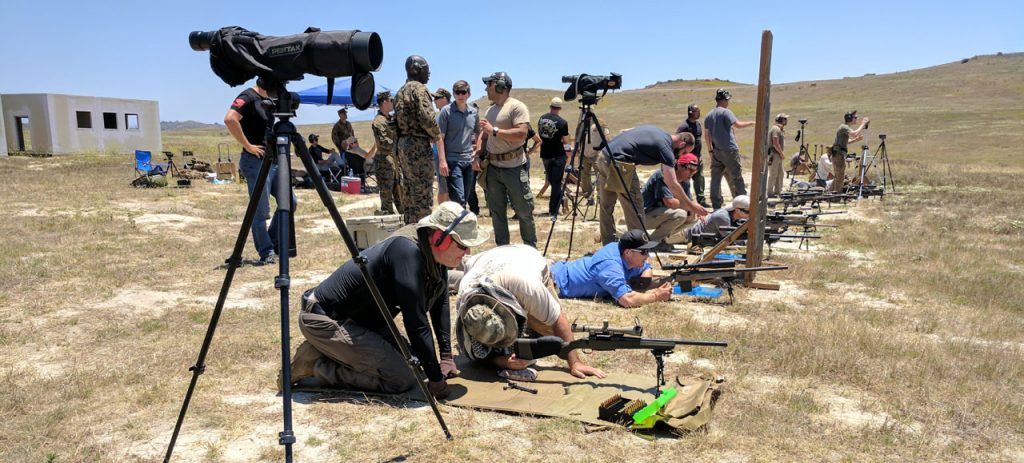
Shooters try their skills at hitting the various targets down the range at varied distances.
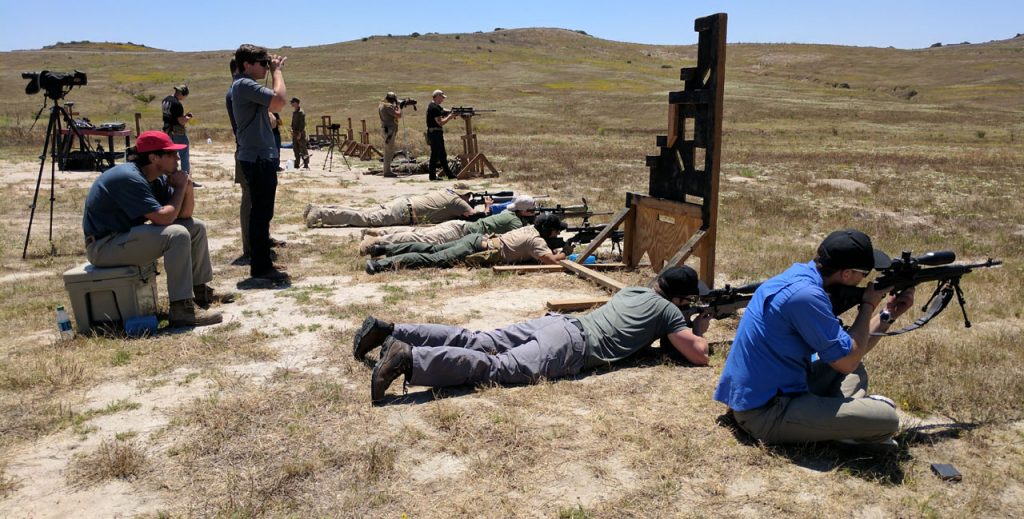
Gripping the barricade and locking the rifle to it with a pinch like grip aids in steadying that wandering reticule
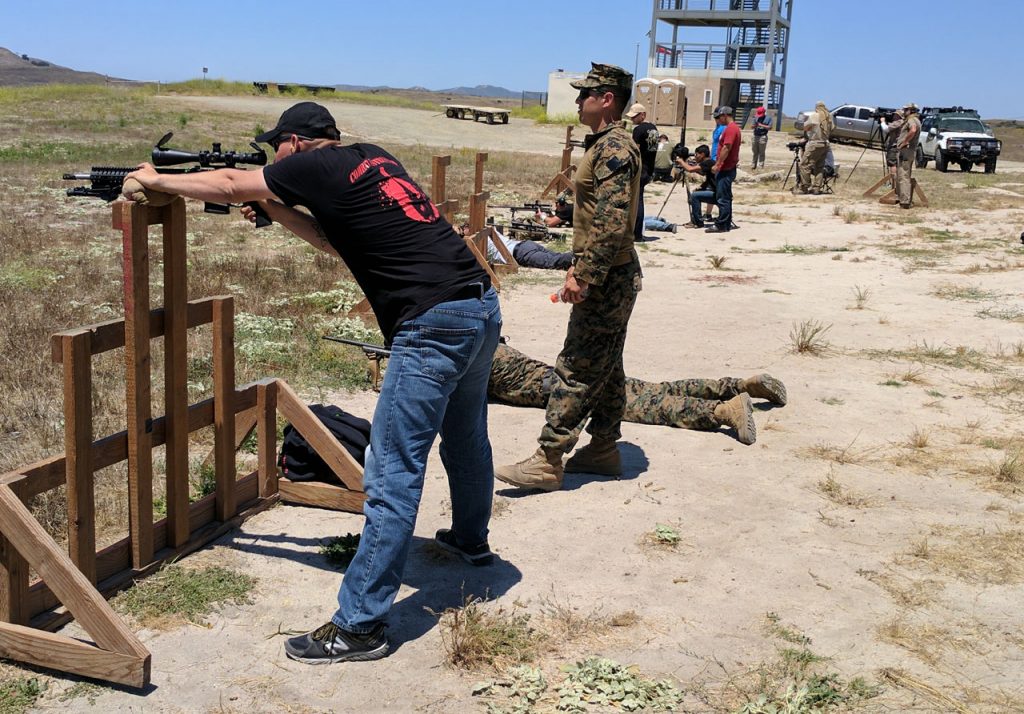
Man those little round steel plates are sooo far away!
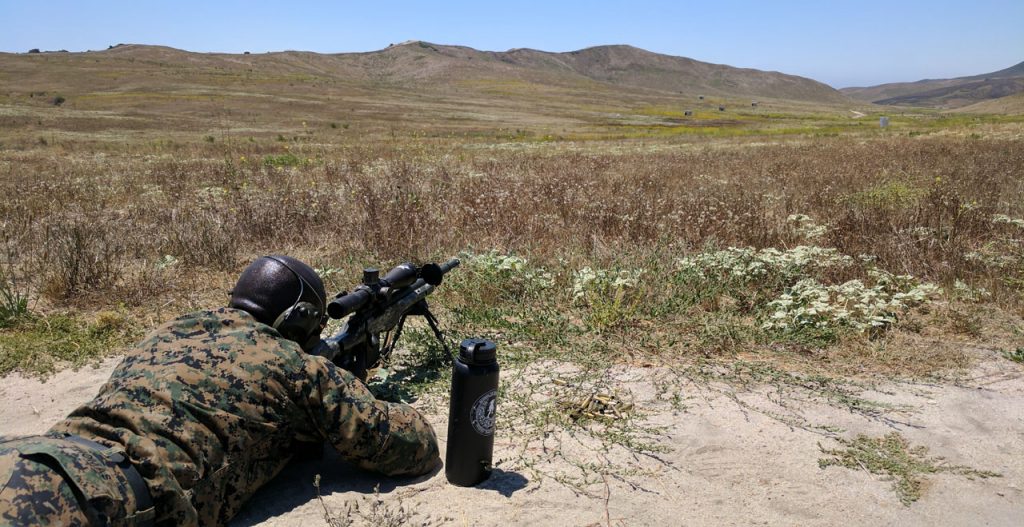
The much touted double kneeling position suggested as superior for such an address
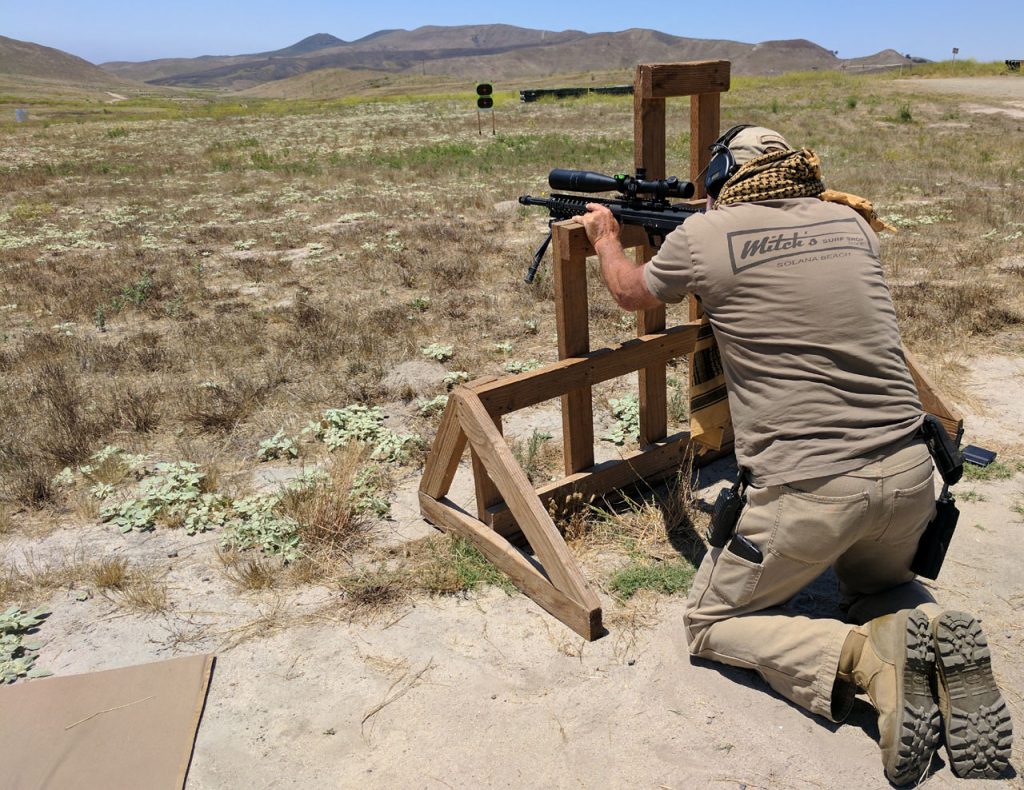
We all helped each other out, dissecting position and technique in an effort to better everyone in some manner.
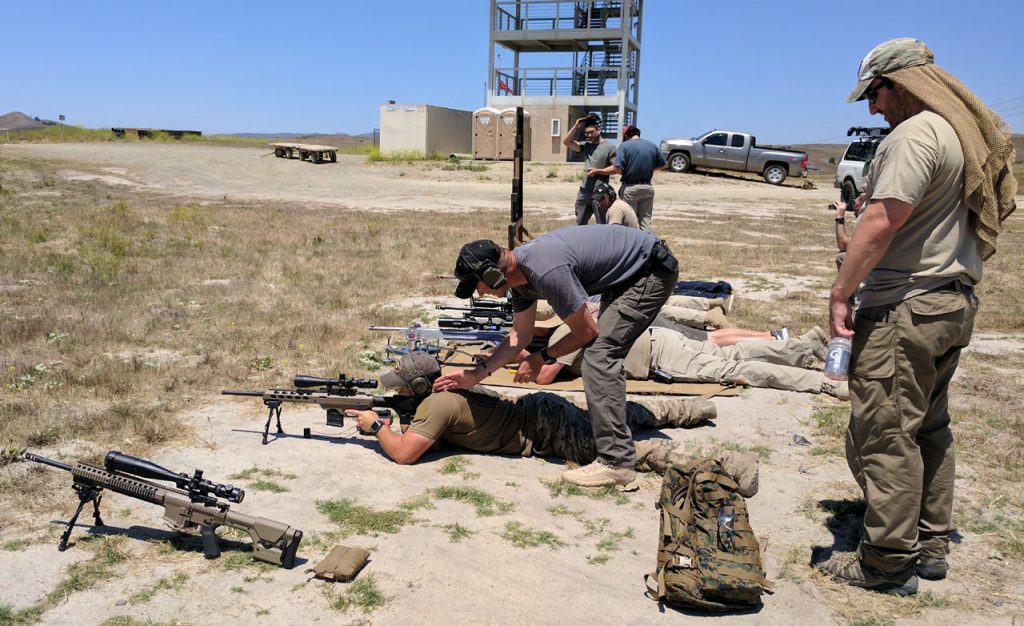
The three most common positions we practiced this day: prone, kneeling , and standing. These basics form many other more complicated shooting positions so mastering them is important!
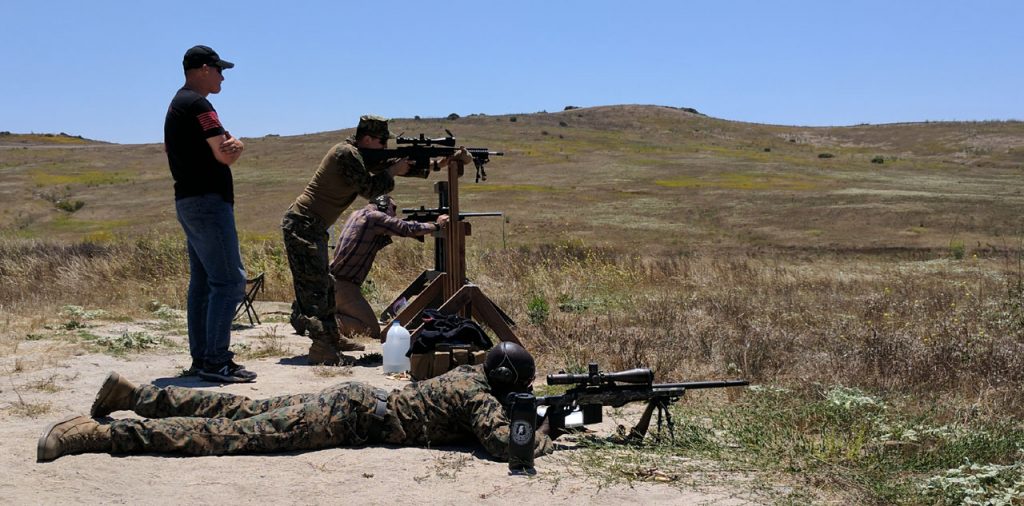
Sam gets his gear on and delivers 300 win mag on the steel down range. This caliber is more difficult to manage in the recoil department which in turn means watching for impact / splash is also more difficult. Of course the wind has a more difficult time steering your projectile off course!
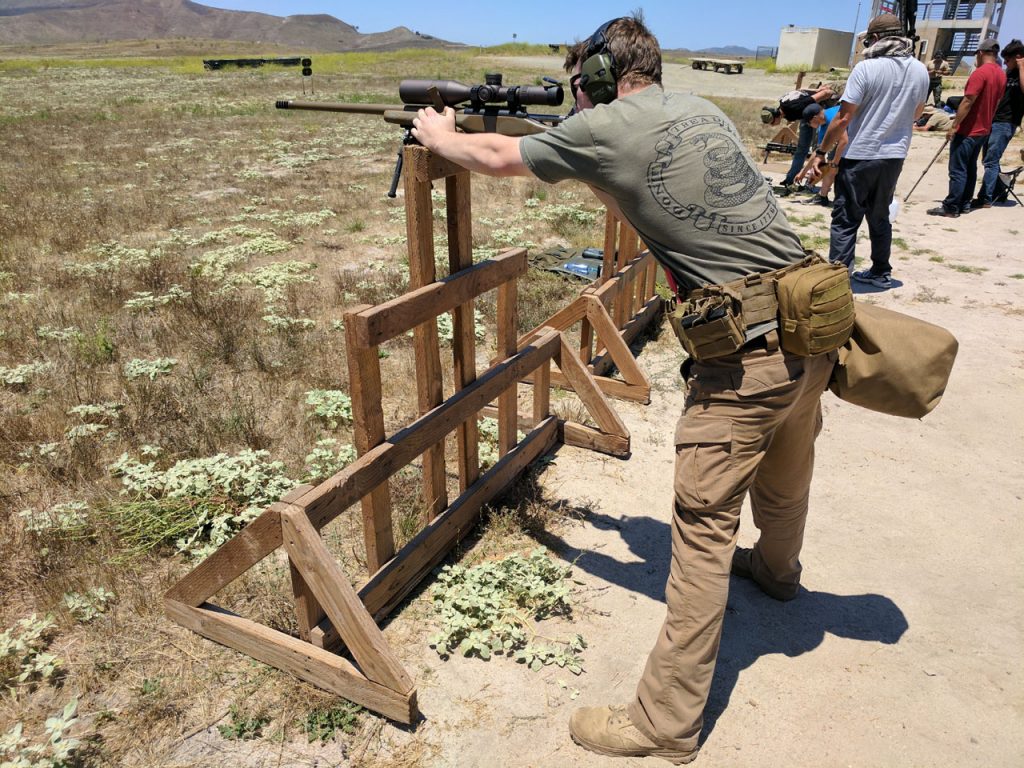
SSgt Velayo shows how the stowed Harris bipod gives him a little more elevation on top of his bag. Remember that we want soft contact to swell around the hard points increasing surface area and improving stability under both firing and recoil events
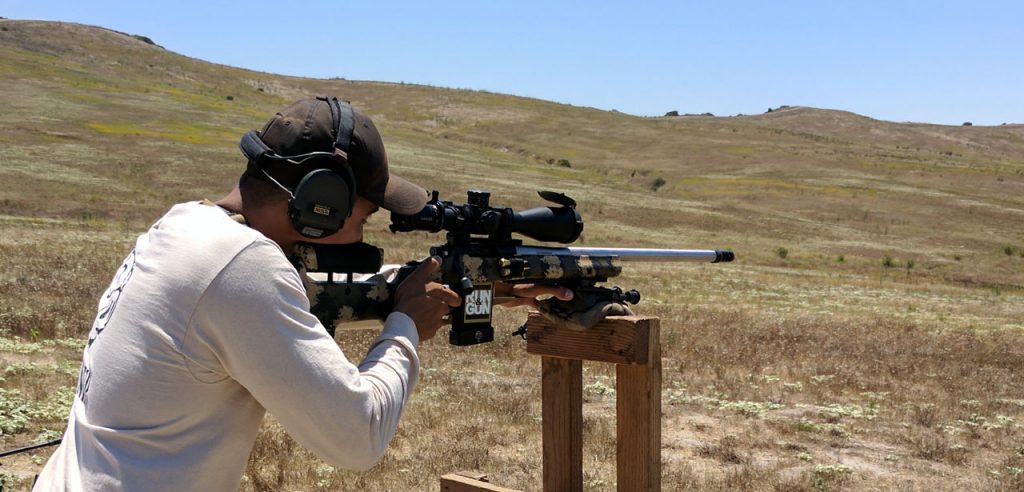
John Hermsen hauls out his bolt gun to send some rounds down range after our RSO switch over
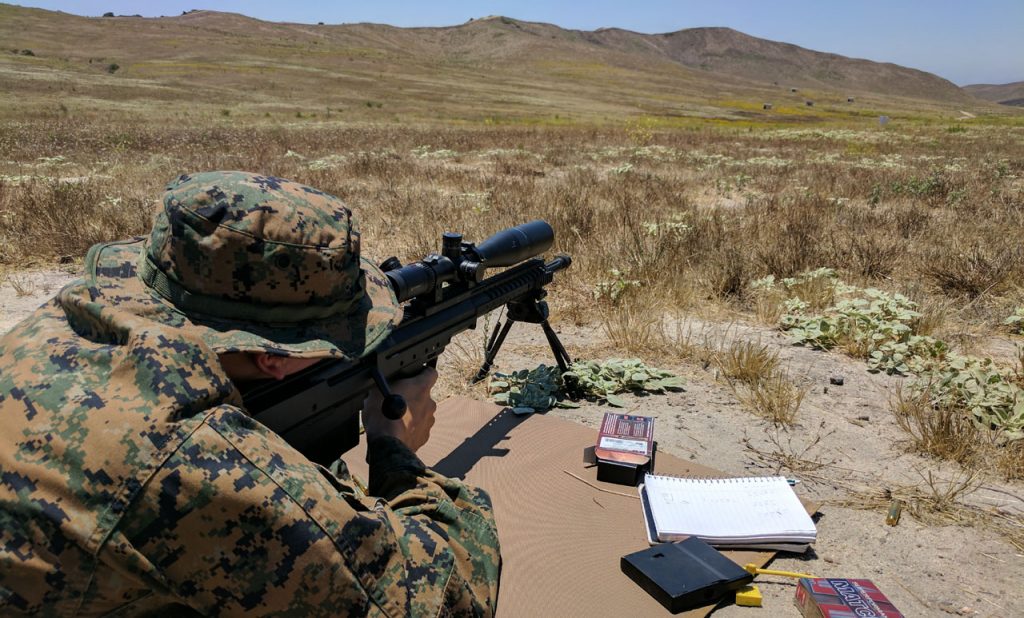
Those shooting are listening for the spotter to call out ‘IMPACT’ which signifies a scored hit. The intriguing observation those on the line will make quickly is that the call of ‘IMPACT’ comes prior to the ‘PING’ of the bullet hitting the steel!
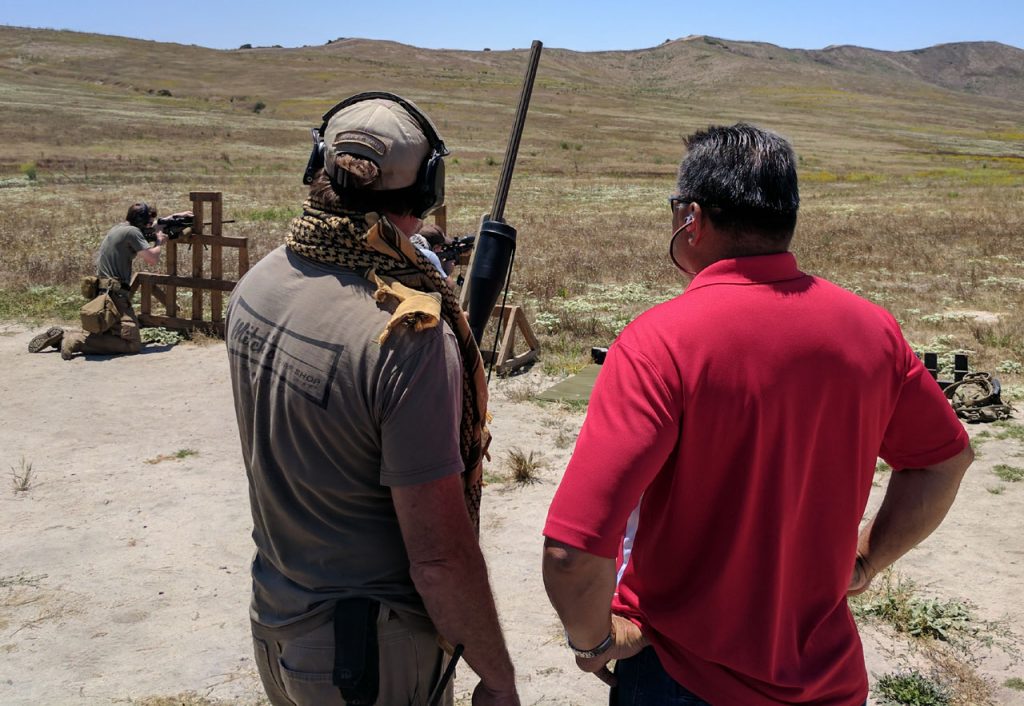
John Hermsen and Harry Harrison watch Sam try out the kneeling address with his 300 win mag
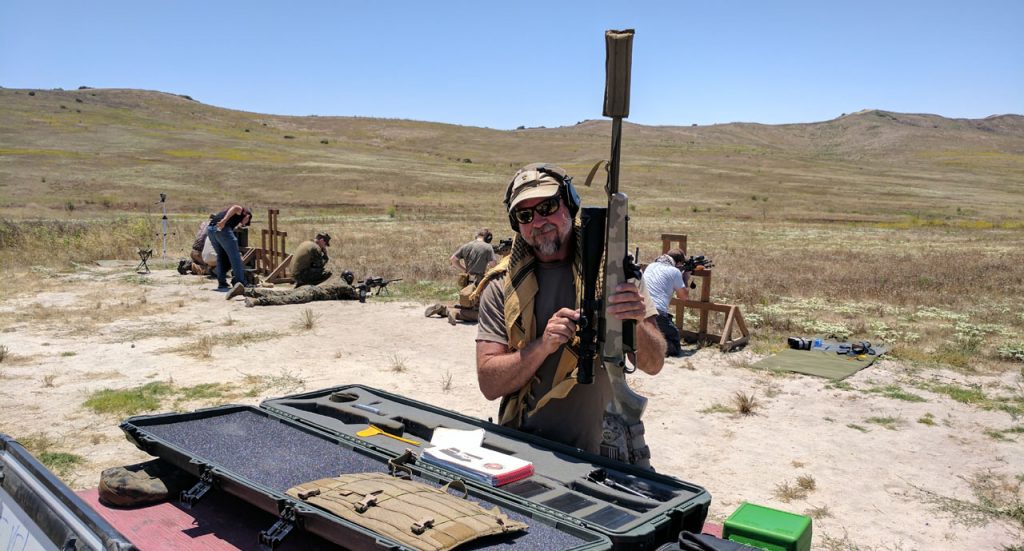
SSgt Gallagher puts his Desert Tech rig on the line. He got more than a few takers on loaning it out to try!
It would get pretty busy at times with everyone sending rounds down range all at once. It was impressive to hear the steel chorus when this was going on!
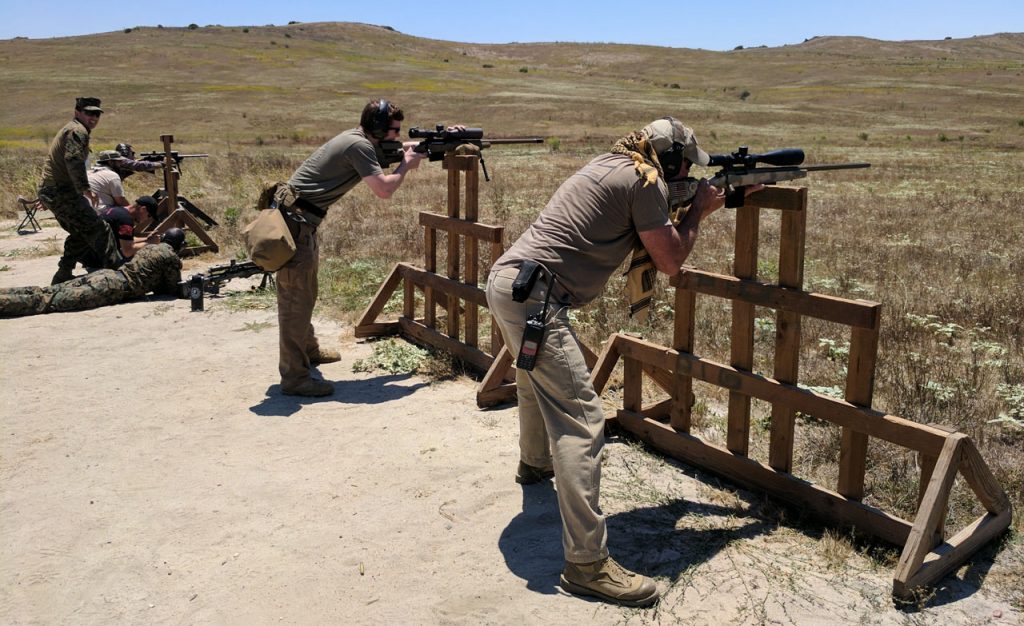
SSgt Velayo is showing his method of going prone and increasing surface area on the ground to build in stability
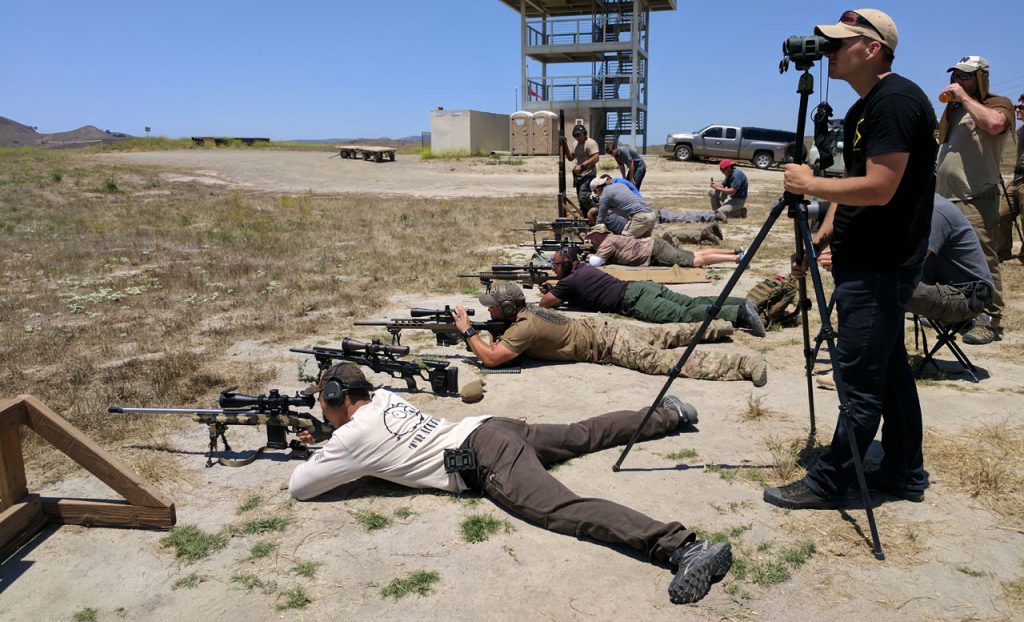
Clearly everyone was have a great time!
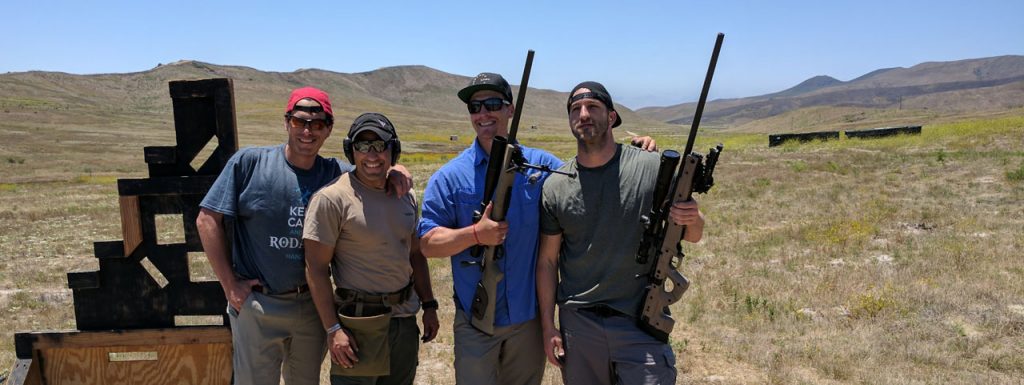
With instruction and on-the-range training we all started to get the hang of the various positional challenges PRS competitors face under the pressure of the clock and their fellow shooters scores.
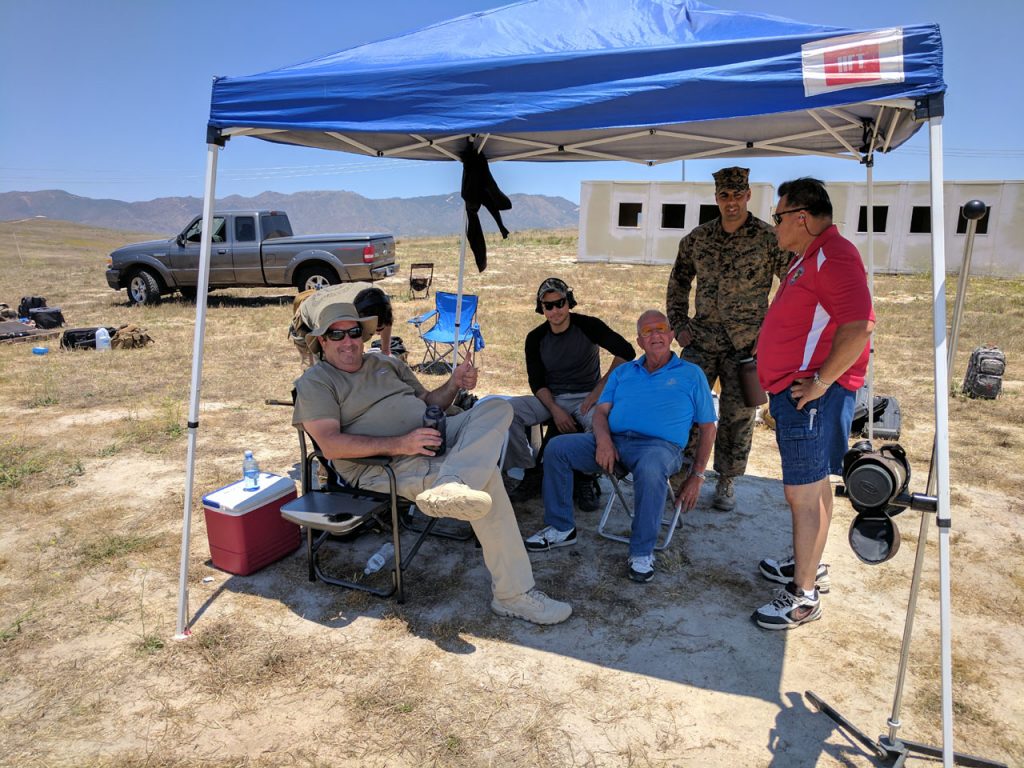
The staff on site and in control! Meanwhile a RSO paces the line out of frame of the camera collecting more than his fill of UV light for the day.
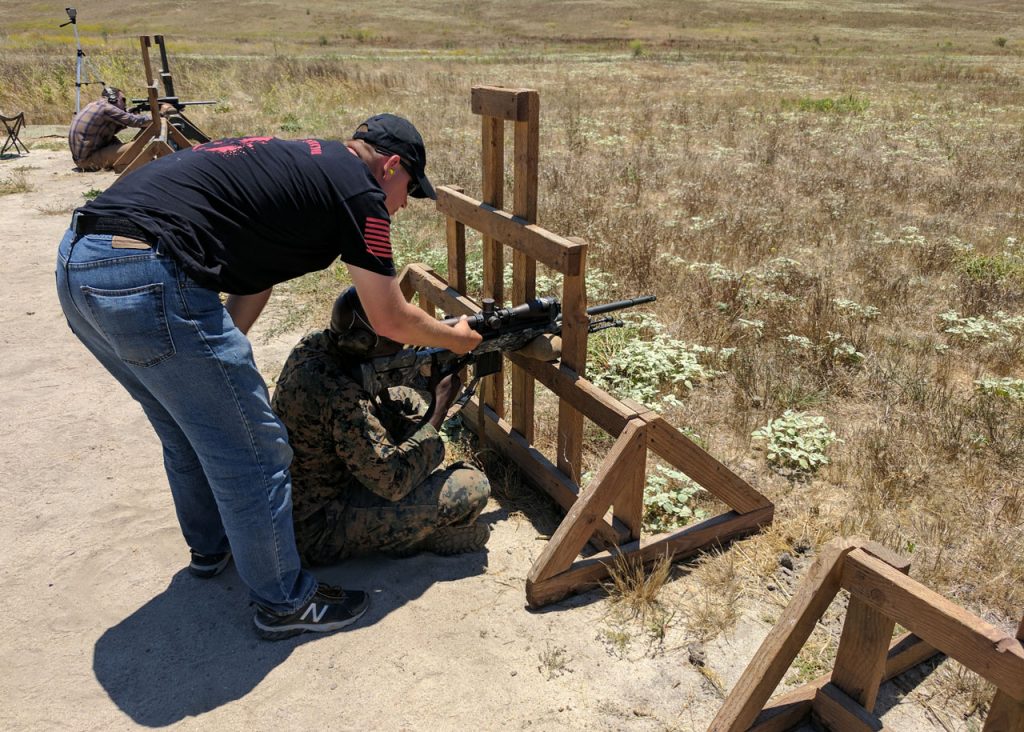
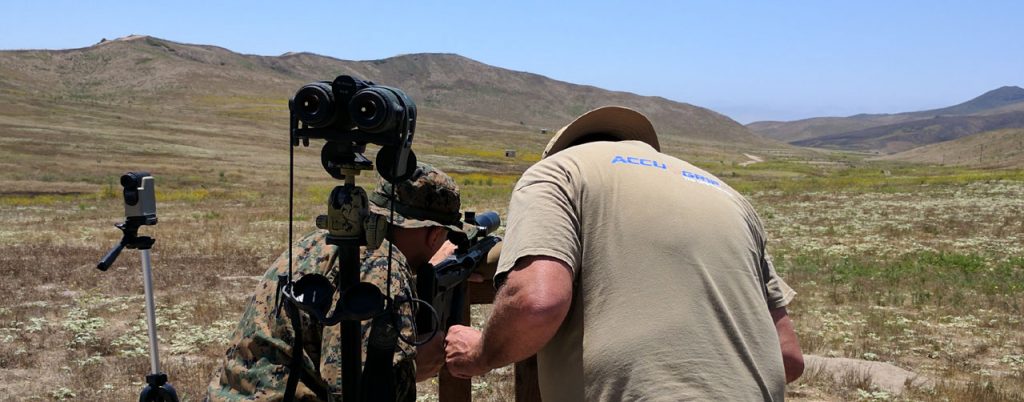
Here Kerry helps a guy get his rifle sighted in the old fashion way – eyechrometer through the bore!
Mike Jones and SSgt Gallagher work on the long range shots together. Boy could that Desert Tech reach out there!
All in all it was a great day and we all learned a lot. Thanks to all who came and worked together during this clinic. We hope to host a proper PRS match soon to give you all a chance to try out your newly learned skills!

